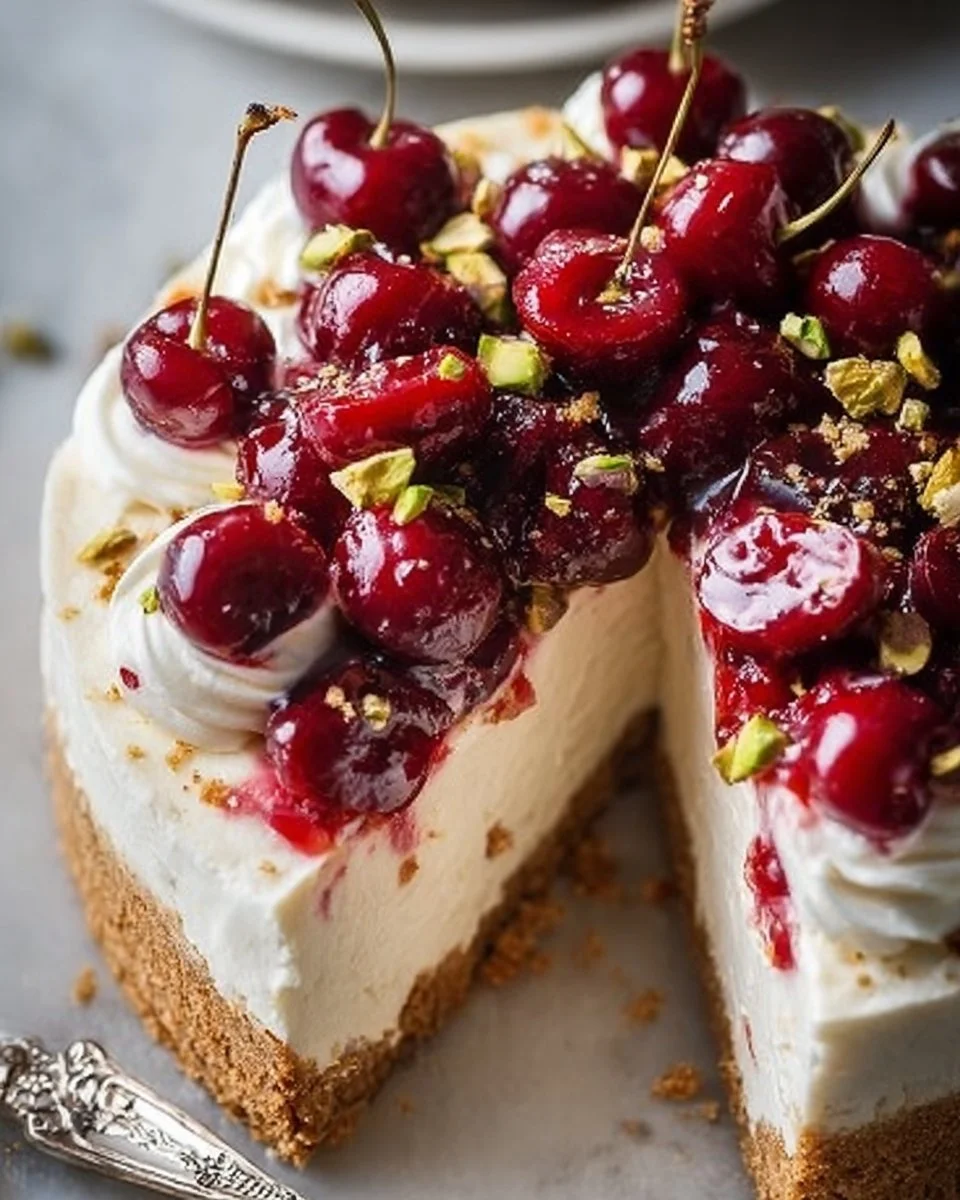
If you’re looking for a dessert that perfectly balances sweetness and tanginess, look no further than this Cherry Pistachio Cheesecake. This delightful cheesecake is not only visually stunning but also offers a symphony of flavors that will leave your taste buds dancing with joy. The creamy texture of the cheesecake, combined with the tartness of fresh cherries and the crunch of pistachios, creates an unforgettable dessert that’s perfect for any occasion.
Whether it’s a birthday celebration, a holiday gathering, or simply a cozy dinner at home, this cheesecake is sure to impress your family and friends. With simple ingredients and straightforward preparation, you’ll enjoy making this recipe as much as you’ll enjoy eating it!
Why This Recipe Works
This Cherry Pistachio Cheesecake stands out for several reasons. First and foremost, it combines common ingredients that are easy to find, making it a budget-friendly option for any home cook. The preparation process is straightforward; even beginners can follow the steps without feeling overwhelmed.
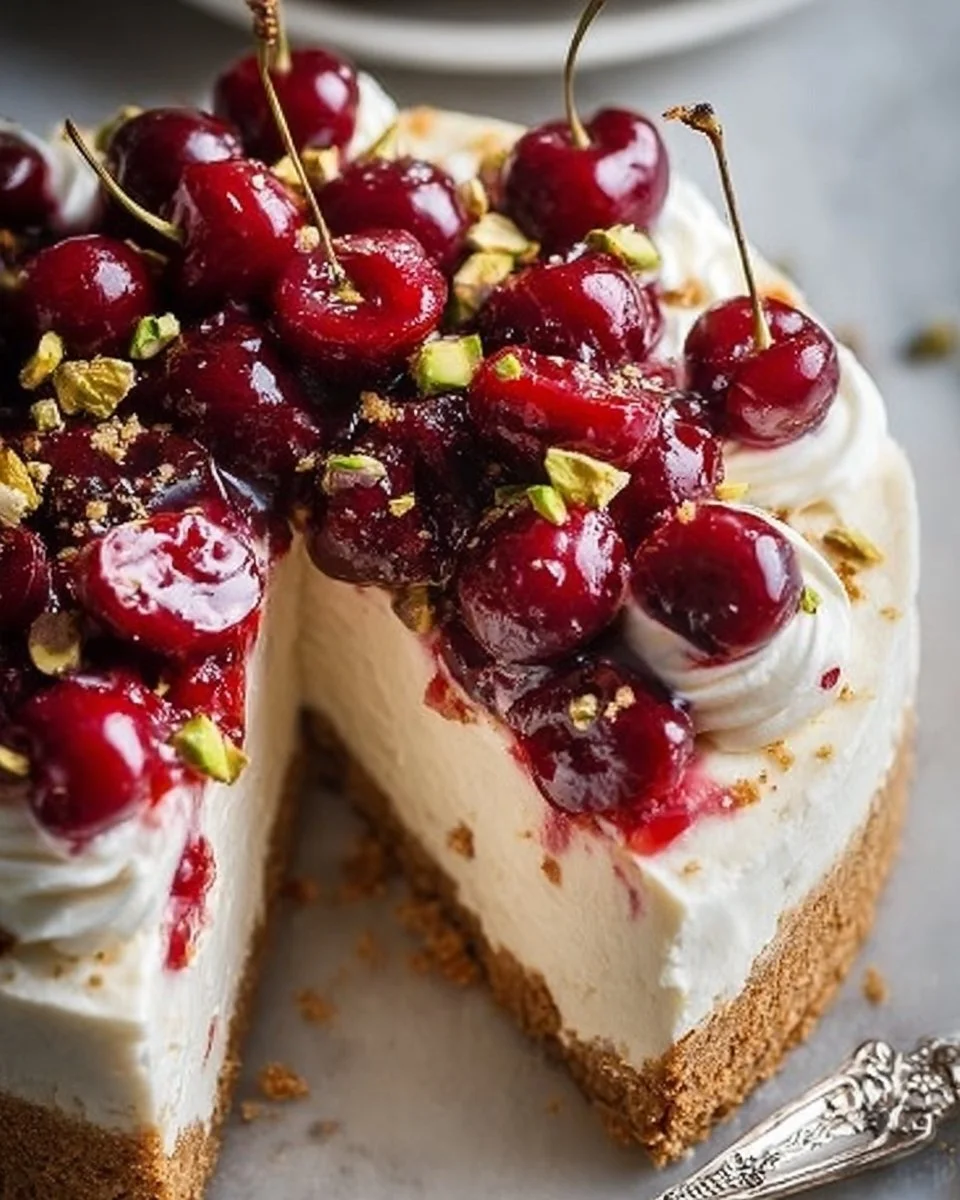
Additionally, the crust made from graham cracker crumbs provides a delightful crunch that pairs perfectly with the smooth cream cheese filling. The use of fresh cherries and pistachios not only enhances the flavor but also adds a pop of color and texture, making it an eye-catching centerpiece. With a bake time that allows you to prepare other dishes or relax while it cooks, this recipe is both practical and satisfying.
Overview of Cooking Process
Creating this cherry pistachio cheesecake involves three primary steps: preparing the crust, making the cream cheese filling, and assembling the cherry topping. You’ll start by mixing graham cracker crumbs with melted butter, then pressing it into the pan to create a crunchy base. After baking the crust, you’ll whip together the cream cheese mixture until smooth, incorporating beaten heavy cream and crushed pistachios for added richness and texture.
Once the filling is ready, pour it over the cooled crust and bake until set. The cherry topping is made by cooking cherries with cherry preserves and a hint of lemon juice, creating a luscious sauce to drizzle over the cheesecake. After chilling in the refrigerator, your masterpiece will be ready to serve!
Ingredients
- Prep Time: 20 minutes
- Cook Time: 60 minutes
- Total Time: 4 hours and 20 minutes (including chilling)
- Servings: 12
- 1 1/2 cups graham cracker crumbs
- 1/2 cup unsalted butter, melted
- 1 cup cream cheese, softened
- 1/2 cup granulated sugar
- 1 teaspoon vanilla extract
- 1/2 cup sour cream
- 1 cup heavy cream
- 1/2 cup pistachios, finely chopped
- 2 cups cherries, pitted and halved
- 1/4 cup cherry preserves
- 1 tablespoon lemon juice
The key ingredients in this cheesecake create a wonderful balance of taste and texture. The cream cheese is essential for that creamy filling, while heavy cream contributes to a rich mouthfeel. The pistachios not only add flavor but also a delightful crunch, and the fresh cherries bring a bright note that cuts through the richness.
Step-by-Step Instructions
- Prepare the crust: Preheat your oven to 325°F (160°C). In a medium bowl, combine the graham cracker crumbs and melted butter. Mix well until the crumbs are fully coated. Press this mixture firmly into the bottom of a springform pan, creating an even layer. Bake the crust for 8-10 minutes, or until it is lightly golden, then allow it to cool.
- Make the filling: In a large bowl, beat the cream cheese using an electric mixer until it’s smooth. Gradually add in the granulated sugar and vanilla extract, mixing until well combined. Next, stir in the sour cream until smooth.
- Incorporate the whipped cream: In a separate bowl, whip the heavy cream until stiff peaks form. Gently fold this whipped cream into the cream cheese mixture, taking care not to deflate it. Now stir in the finely chopped pistachios until they are evenly distributed.
- Bake the cheesecake: Pour the cheesecake filling over the cooled crust and smooth the top with a spatula. Bake for 45-50 minutes, or until the center is slightly jiggly but set. Allow the cheesecake to cool completely on the counter.
- Prepare the cherry topping: In a saucepan, combine the cherries, cherry preserves, and lemon juice. Cook over medium heat for 5-7 minutes, or until the mixture becomes bubbly and thickens slightly. Remove from heat and let cool.
- Assemble and chill: Once the cheesecake is completely cooled, spread the cherry mixture over the top. Cover the cheesecake and refrigerate for at least 4 hours, or overnight for the best flavor and texture before serving.
Remember to allow the cheesecake to cool completely before adding the cherry topping. This helps to maintain the texture and ensures that the flavors meld beautifully in the refrigerator.
Perfect Pairings for Serving
This Cherry Pistachio Cheesecake is a delight on its own, but here are some ideas for enhancing your serving experience:
- Top each slice with a dollop of whipped cream for extra creaminess.
- Pair with a scoop of vanilla ice cream for a delicious contrast.
- Serve alongside a fresh fruit salad for a refreshing side.
- Accompany your cheesecake with a tea or coffee to balance the dessert’s sweetness.
- This cheesecake is perfect for occasions like birthdays, holidays, or even a casual gathering with friends.
How to Store and Reheat
Storing your cheesecake properly will keep it fresh and delicious. After it has fully cooled and set in the refrigerator, cover it tightly with plastic wrap or transfer it to an airtight container. This cheesecake will stay fresh in the fridge for up to 5 days.
Unfortunately, cheesecakes do not freeze well due to changes in texture. However, if you have leftovers, simply refrigerate them. When ready to serve, there’s no need to reheat—simply enjoy it cold or at room temperature!
Expert Tips for Success
For the best results with your Cherry Pistachio Cheesecake, consider the following tips:
- Ensure all ingredients, especially the cream cheese and sour cream, are at room temperature for easier mixing.
- Don’t overmix the cheesecake filling as this can incorporate too much air, resulting in cracks.
- Keep a close eye on the baking time. The cheesecake should be set around the edges but still slightly jiggly in the center.
- Allow the cheesecake to cool in the oven with the door slightly ajar to prevent sudden temperature changes.
Ingredient Variations to Try
If you’re feeling adventurous or want to customize your cheesecake, here are some variations you can consider:
- Substitute the pistachios with almonds or walnuts for a different nutty flavor.
- Change out the cherry preserves for strawberry or raspberry preserves for a fruity twist.
- Add a splash of almond extract for a deeper flavor profile.
- For a chocolate lover’s version, fold in some cocoa powder into the cream cheese mixture.
Frequently Asked Questions
1. Can I use frozen cherries instead of fresh?
Yes, frozen cherries will work! Just thaw them and drain any excess liquid before using them in the topping.
2. Can I make this cheesecake ahead of time?
Absolutely! This cheesecake is perfect for making a day in advance, as it allows the flavors to develop even more while it chills in the fridge.
3. What should I do if my cheesecake cracks?
Cracks can happen if the filling is overmixed or baked too long. To prevent this, avoid overbeating and remove the cheesecake from the oven when it’s slightly jiggly in the center.
4. Is it necessary to use a springform pan?
A springform pan makes it easier to remove the cheesecake once it’s set. If you don’t have one, you can use a regular round pan but be cautious when serving.
5. Can this cheesecake be made gluten-free?
Yes, simply use gluten-free graham crackers for the crust, and ensure all other ingredients are gluten-free.