
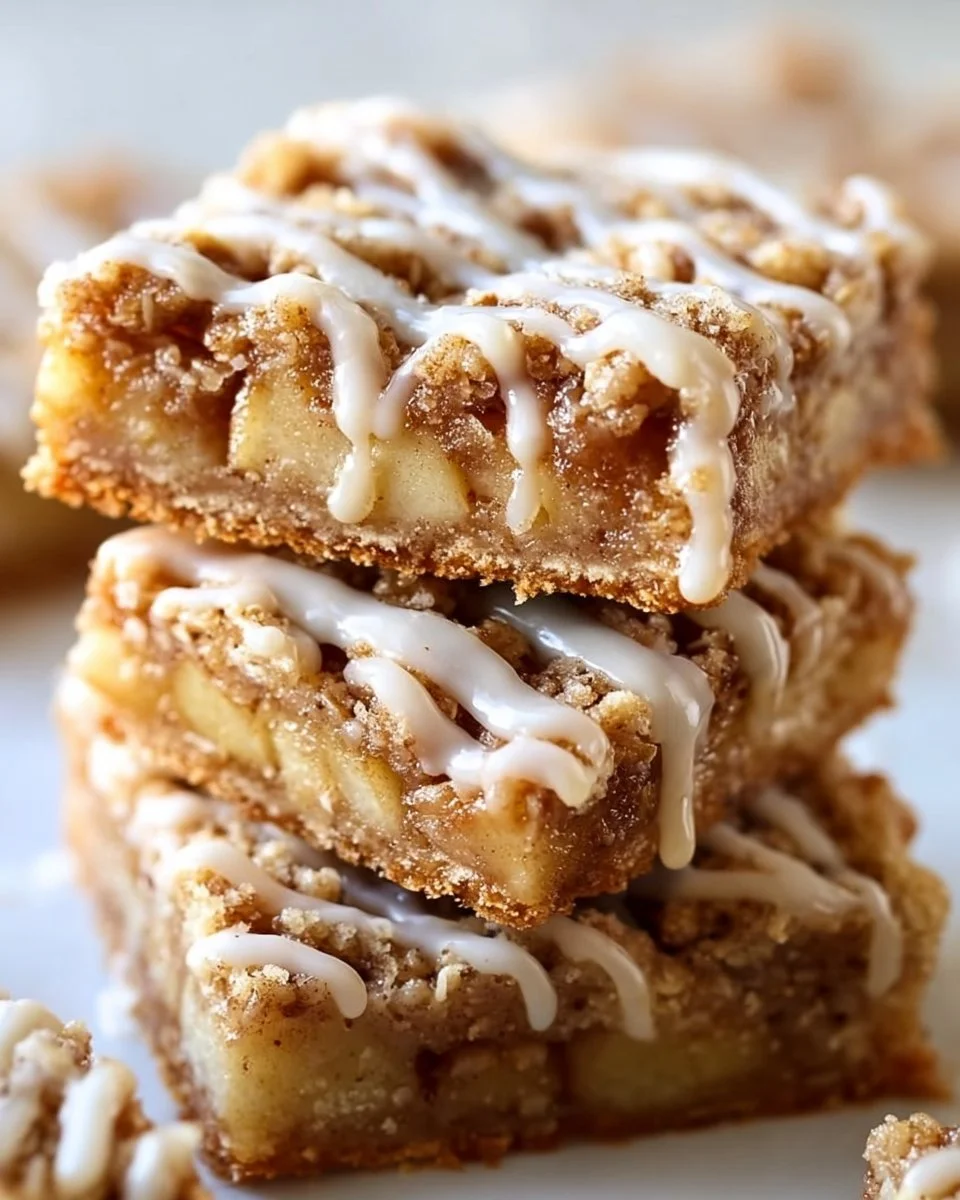
Welcome to the delightful world of homemade Apple Bars, where delicious flavors come together in a warm, comforting treat! If you’re searching for a recipe that encapsulates the essence of autumn in every bite, you’ve found it. These crispy, buttery bars, filled with sweet, cinnamon-spiced apples, are perfect for any occasion—be it a family gathering, a cozy afternoon snack, or even as a delightful dessert. They’re easy to make and always a hit among friends and family!
What Makes These Apple Bars Irresistible
This recipe shines for many reasons. First and foremost, it combines simplicity with sensational taste. The combination of oats and flour creates a chewy yet crispy texture that pairs perfectly with the tender, juicy apples. Plus, the sweet and aromatic spices elevate this dish from ordinary to extraordinary. Not to mention, it’s budget-friendly and can be made with pantry staples, making it a go-to recipe for home bakers. You’ll appreciate the way it fills your kitchen with delightful aromas while baking, and it comes together quickly, so you can enjoy these bars in no time!
Steps to Homemade Happiness
Creating these Apple Bars is a straightforward process, making it beginner-friendly. Start by preparing your crust, followed by assembling the apple filling, and finish with a crumbly topping. As you follow the steps, you’ll find it easy to customize based on your taste preferences or dietary needs. This recipe ensures that deliciousness is just a few simple steps away!
Ingredients
Before we dive into the recipe, here’s a quick overview of what you’ll need:
- Prep Time: 15 minutes
- Cook Time: 50 minutes
- Total Time: 1 hour 5 minutes
- Servings: 12 bars
The ingredients list for these delicious Apple Bars includes:
- 2 cups all-purpose flour
- 1 1/2 cups old-fashioned oats
- 1/2 cup granulated sugar
- 3/4 cup brown sugar
- 1 cup unsalted butter, cold and cubed
- 1/2 teaspoon salt
- 1 1/2 teaspoons ground cinnamon
- 1/4 teaspoon nutmeg (optional)
- 3 cups apples, peeled and chopped
- 1 tablespoon lemon juice
- 1 tablespoon cornstarch
- 1 teaspoon vanilla extract
- 1/2 cup powdered sugar
- 1–2 tablespoons milk (for glaze)
Understanding the key ingredients can make a difference. The old-fashioned oats provide a hearty texture, while the combination of granulated and brown sugar adds depth to the sweet flavor. Using cold butter is essential for achieving a flaky crust, while a zest of lemon juice brightens the flavor of the apples!
Step-by-Step Instructions
Now, let’s get into the fun part—baking these tantalizing Apple Bars! Just follow these easy steps:
- Preheat your oven to 350°F (175°C) and prepare your 9×13-inch baking pan by lining it with parchment paper for easy removal.
- In a large mixing bowl, combine the all-purpose flour, oats, granulated sugar, brown sugar, salt, and ground cinnamon. Incorporate the cold, cubed butter using a pastry cutter or your fingers until the mixture resembles coarse crumbs.
- Set aside 1 1/2 cups of the crumb mixture to use as the topping. Next, press the remaining mixture firmly into the bottom of the lined baking pan. Bake the crust for about 10-12 minutes or until it’s lightly golden.
- While the crust bakes, prepare the apple filling. In a separate bowl, toss the peeled and chopped apples with the lemon juice, cornstarch, and vanilla extract. If you’re using nutmeg, now’s the time to add it.
- Spread the apple mixture evenly over the baked crust, then sprinkle the reserved crumb topping over the apples.
- Return the pan to the oven and bake for an additional 30-35 minutes, or until the top is golden and the apples are bubbly.
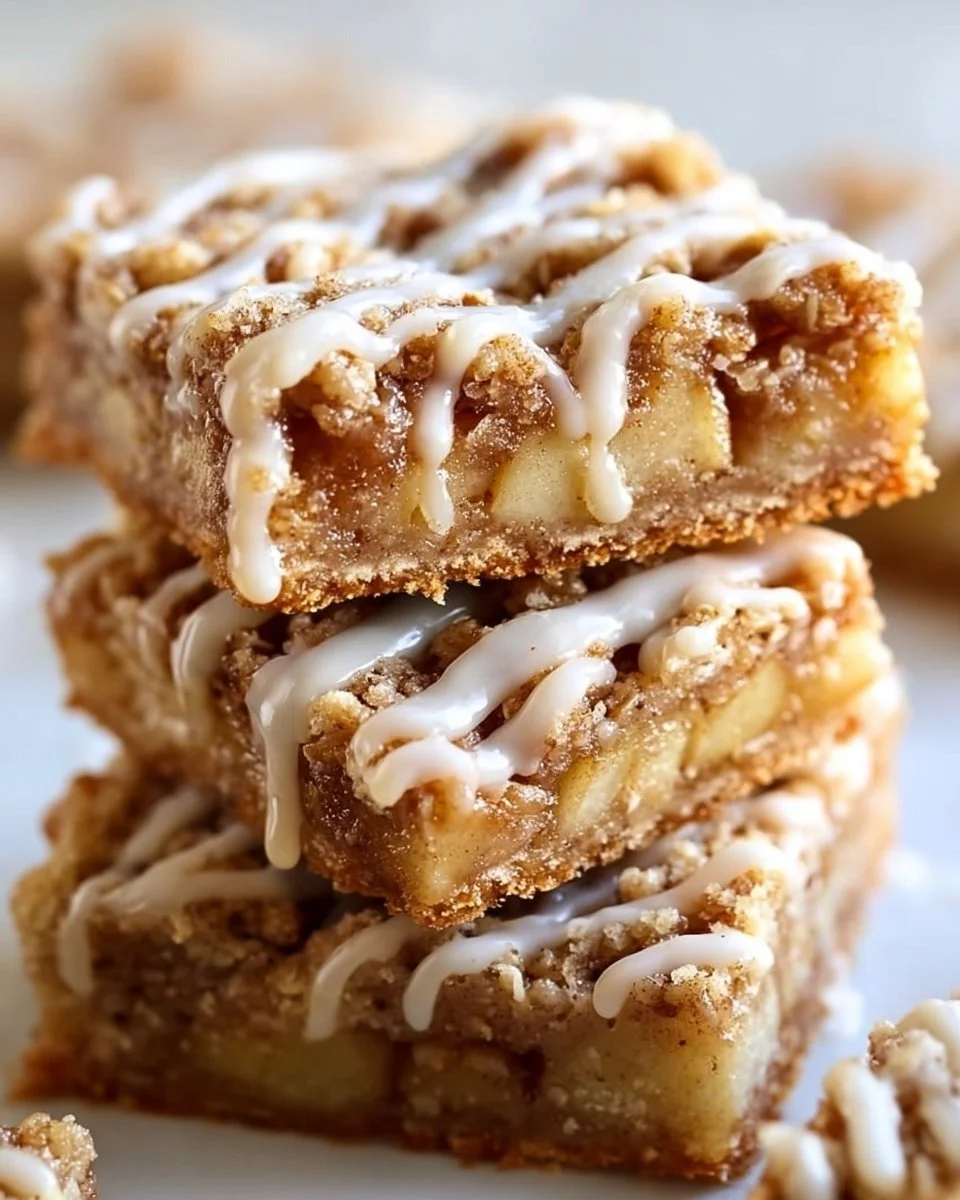
- Cool the bars completely before making the glaze. Mix the powdered sugar with 1-2 tablespoons of milk until smooth, then drizzle over the cooled bars just before slicing.
Tip: Always allow the bars to cool completely in the pan before cutting. This will help them hold their shape and prevent them from crumbling!
Tasty Ways to Serve Your Apple Bars
These Apple Bars can stand alone as a delightful treat, but there are plenty of ways to enhance your serving experience! Here are some ideas:
- Serve them warm with a scoop of vanilla ice cream on the side.
- Add a dollop of whipped cream for a light and airy finish.
- Pair with a warm cup of tea or coffee for a cozy afternoon snack.
- They make a perfect dessert for holiday gatherings, so don’t hesitate to bring them to your next potluck!
Regardless of how you serve them, these bars are sure to impress your guests!
Keeping Those Bars Fresh: Storage and Reheating Tips
Proper storage is key to enjoying your Apple Bars beyond the first day. Here’s how to keep them fresh:
- Store any leftovers in an airtight container in the refrigerator for up to a week.
- If you want to enjoy them later, consider freezing the bars. Wrap them tightly in plastic wrap or aluminum foil, then place them in a freezer-safe container for up to 3 months.
When you’re ready to indulge again, simply thaw the bars in the refrigerator overnight. Reheat in the oven at 350°F (175°C) for about 10 minutes to restore their warmth and texture or enjoy them cold!
Expert Advice for a Perfect Batch
Here are some pro tips to elevate your baking experience:
- Make sure your butter is cold and cubed before mixing to achieve a flaky crust.
- Don’t skip the resting time after baking; cooling ensures the bars set properly.
- Feel free to adjust the spice levels to suit your taste—add more cinnamon or experiment with clove for additional warmth!
Common mistakes to avoid include over-mixing the crust mixture—this can lead to a dense texture. Also, be careful not to slice the bars while they are still warm, or they may crumble.
Delicious Variations to Explore
If you’re feeling adventurous, here are some variations to customize your Apple Bars:
- Try adding raisins or cranberries to the apple mixture for a fruity punch.
- Substitute half of the all-purpose flour with whole wheat flour for a healthier twist.
- Mix in chopped nuts, such as walnuts or pecans, for added flavor and crunch.
- For a different flavor profile, consider using pear or peach instead of apples.
These modifications can add a personal touch to your recipe while keeping the essence of what makes these bars delightful.
Common Questions About Apple Bars
As you bake, you might have some questions along the way. Here are answers to a few frequent inquiries:
- Can I use frozen apples? Yes, but make sure to thaw and drain them well before using to avoid excess moisture.
- Can Apple Bars be made gluten-free? Absolutely! Use a gluten-free flour blend and ensure your oats are certified gluten-free.
- How can I make these bars dairy-free? Substitute the butter with a plant-based alternative like coconut oil or dairy-free butter.
- What’s the best method to cut the bars? Use a sharp knife and wipe it clean between cuts for neat slices.
- Can I add chocolate chips? Yes! Chocolate pairs wonderfully with apples, so feel free to sprinkle some on top or mix them in!
By following this guide, you’re well on your way to making delectable Apple Bars that will have your taste buds singing! It’s a recipe that combines ease with delightful results—perfect for any home cook, regardless of skill level.