
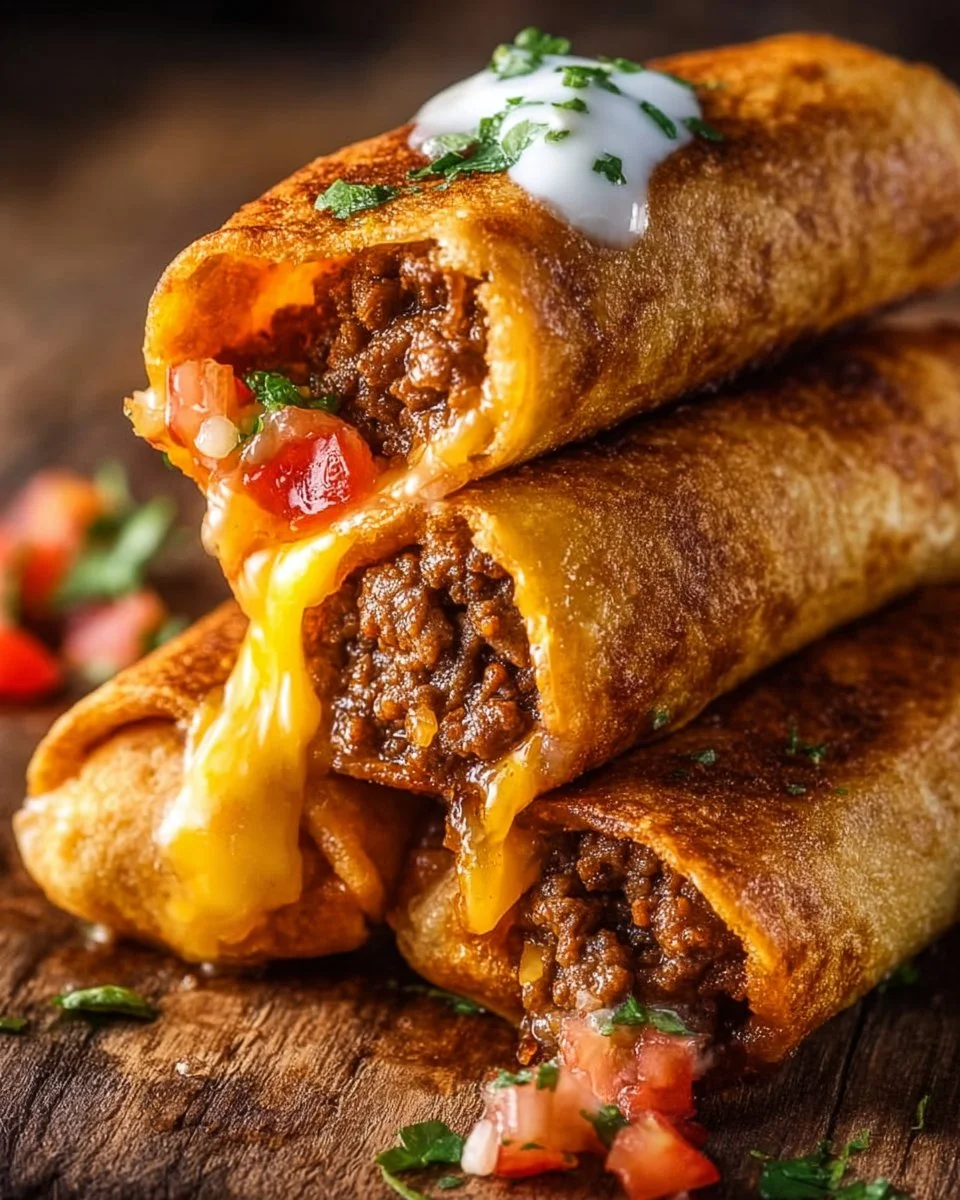
If you’re looking for a dish that perfectly balances comfort and flavor, look no further than Beef and Cheese Chimichangas. These crispy, golden brown delights packed with seasoned ground beef and melty cheese are simply irresistible. They make for the perfect weeknight meal, a fun party appetizer, or an exciting addition to taco night. Plus, the best part is that they’re easy to make, so you can whip them up even on a busy day!
What Makes This Recipe So Good
This recipe stands out for several reasons. First and foremost, it’s delicious! The combination of seasoned beef, creamy refried beans, and generous amounts of cheese creates a mouthwatering filling that will have your family coming back for seconds. Not only is it a flavorful meal, but it is also quick to prepare, making it perfect for weeknight dinners when you want something hearty without spending hours in the kitchen. Additionally, it’s budget-friendly, allowing you to feed a crowd without breaking the bank.
Simple Breakdown of the Cooking Process
This dish comes together in a few simple steps, making it beginner-friendly and low-stress. You’ll start by cooking the ground beef with onion and spices, followed by assembling the chimichangas by filling the tortillas with the savory mixture and cheese. The final step is cooking them either in the oven for a healthier option or in a skillet for that extra crispy texture. Voila! You’ll have a mouthwatering platter of chimichangas ready to serve.
Ingredients
Prep Time: 15 minutes
Cook Time: 25 minutes
Total Time: 40 minutes
Servings: 6 chimichangas
- 1 lb ground beef
- 1 small onion (finely diced)
- 2 cloves garlic (minced)
- 1 packet (1 oz) taco seasoning (or homemade)
- ½ cup salsa
- 1 cup refried beans
- 1 ½ cups shredded cheddar cheese (or Mexican blend)
- 6 large flour tortillas (burrito-size)
- 2 tbsp vegetable oil (for brushing/frying)
Step-by-Step Instructions
Let’s dive into the detailed instructions to create these delicious Beef and Cheese Chimichangas!
1. Cook the Beef Filling:
In a large skillet, heat over medium heat. Add the ground beef and diced onion to the skillet. Use a spatula to break the beef apart as it cooks. Cook until the meat is browned and the onion is tender, which should take about 5-7 minutes. This step is crucial as it flavors the beef and enhances the overall taste of your chimichangas.
Next, make sure to drain any excess grease from the skillet; this will prevent your chimichangas from being too oily. Add minced garlic, taco seasoning, and salsa to the skillet, stirring everything together. Let it simmer for about 3-4 minutes to allow the flavors to meld.
2. Assemble the Chimichangas:
Now it’s time to put your chimichangas together! Lay a tortilla flat on a clean surface. Spread a generous spoonful of refried beans down the center of the tortilla. The beans help hold everything together and add a creamy texture to the filling.
Then, add a large scoop of the beef mixture on top of the beans, followed by a handful of shredded cheese. Feel free to adjust the amount of cheese to your liking—who doesn’t love extra cheese?
Start by folding in the sides of the tortilla, then roll it up tightly from the bottom to create a burrito-like shape. Make sure the filling is securely tucked inside to prevent any leakage while cooking.
3. Cook the Chimichangas:
You have two cooking methods to choose from, depending on your preference:
- Oven Method (Healthier): Preheat your oven to 400°F (200°C). Arrange the chimichangas seam-side down on a baking sheet lined with parchment paper. Brush the tops lightly with vegetable oil to help them crisp up. Bake for 18-20 minutes, flipping them halfway through until they turn golden brown and crispy.
- Skillet Method (Crispier): Heat 2-3 tablespoons of vegetable oil in a skillet over medium heat. Once the oil is hot, place the chimichangas seam-side down in the skillet. Cook for about 2-3 minutes per side, or until they are golden brown and crispy. This method gives you that delightful crunch!
4. Serve:
After cooking, remove the chimichangas from heat and let them rest for approximately 2 minutes before serving. This waiting period helps the filling set, making them easier to handle when you dig in.
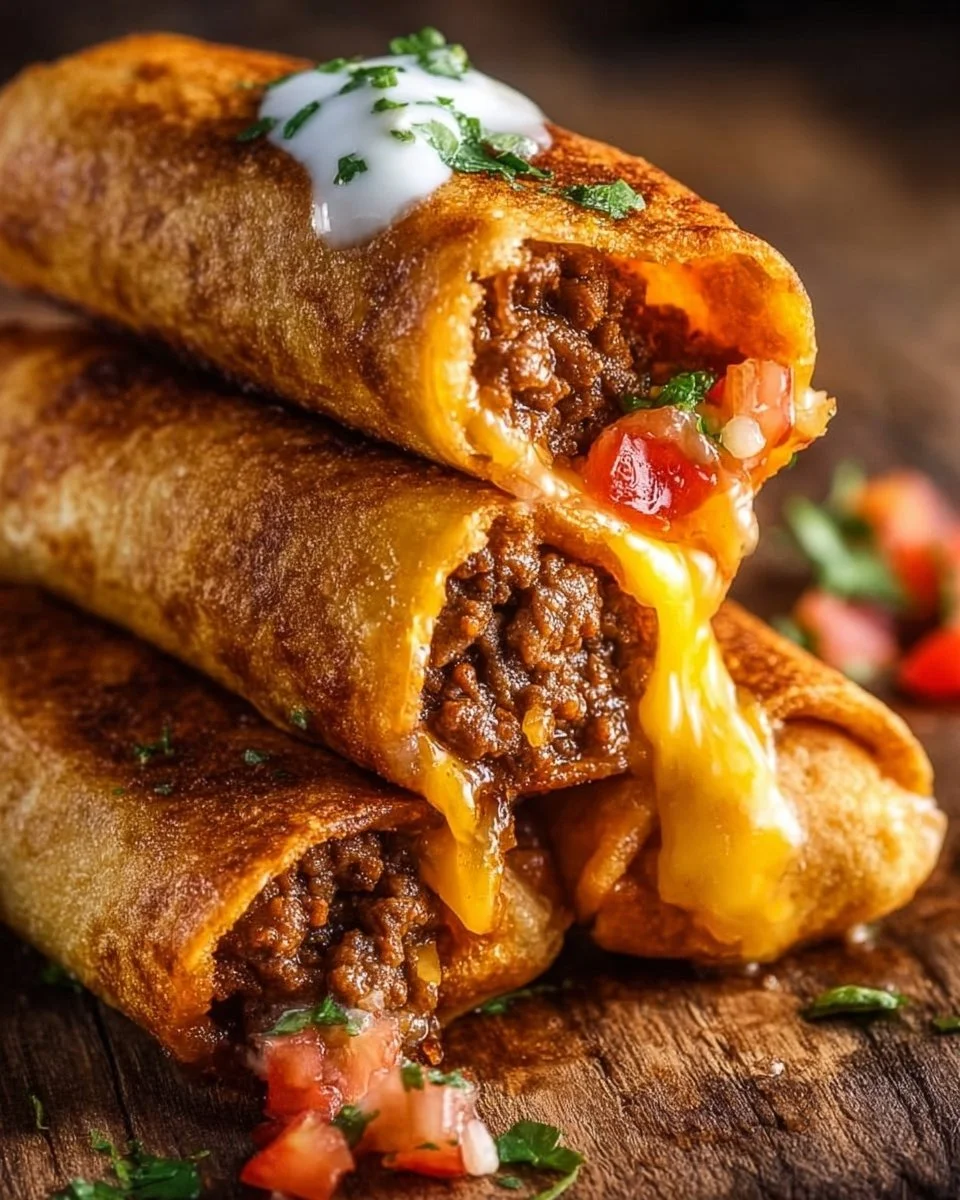
You can serve these beauties with toppings such as sour cream, guacamole, shredded lettuce, or additional salsa if desired. The options are endless, enhancing each bite!
Suggestions for Serving
Consider serving your chimichangas with a vibrant side salad or some Mexican-style rice to make a complete meal. They work wonderfully as appetizers at parties or gatherings, so prepare a big batch for a crowd! Pair the dish with beverages like ice-cold beer, margaritas, or even a refreshing iced tea for a well-rounded experience.
How to Store and Reheat
If you have leftovers, place the cooled chimichangas in an airtight container and store them in the refrigerator for up to 3 days. For longer storage, you can freeze them. Be sure to wrap each chimichanga in plastic wrap and then place them in a freezer-safe bag, where they can last for up to 2 months.
When ready to enjoy your leftovers, reheat them in an oven for a crispy exterior. Preheat your oven to 375°F (190°C) and bake them for about 10-15 minutes until heated through. Alternatively, reheat in a skillet over medium heat, flipping them until warmed through.
Expert Cooking Tips
To ensure your chimichangas turn out perfectly every time, follow these pro tips:
- Don’t skip draining the grease from the beef. Excess fat can lead to soggy chimichangas.
- Use fresh taco seasoning for a more robust flavor. Homemade seasoning blends can be tailored to your preference.
- Be generous with cheese! It not only enhances flavor but also helps bind the filling.
- Make sure you tightly roll the tortillas to prevent leakage during cooking.
- If you wish, you can brush the completed chimichangas with a touch of oil before baking to help achieve that beautiful golden color.
Avoid common mistakes, such as overfilling the tortillas, which can make rolling difficult. Keep your portions manageable!
Tasty Variations to Consider
This recipe is versatile! Feel free to experiment with the filling and adjust based on what you have on hand. Here are a few suggestions:
- Swap out ground beef for shredded chicken, ground turkey, or even a meat-free filling like black beans or sautéed vegetables for a vegetarian option.
- Add different cheeses like Monterey Jack, pepper jack, or a blend for varying flavors and textures.
- Include extras such as corn, chopped bell peppers, or jalapeños in the filling for an exciting twist.
- Use whole wheat or spinach tortillas for added nutrition.
Each variation can offer its unique flavor, allowing you to enjoy this meal multiple times without it feeling repetitive.
Frequently Asked Questions
Can I make chimichangas ahead of time?
Yes, you can prepare the filling and assemble the chimichangas ahead of time. Store them in the fridge until you’re ready to cook them. This is great for meal prep!
Are chimichangas healthy?
While chimichangas are delicious comfort food, they can be considered a bit indulgent due to frying. For a healthier option, baking instead of frying significantly reduces fat and calories.
Can I freeze chimichangas after cooking?
Yes, chimichangas can be frozen after cooking. Just make sure they cool completely before storing them in a freezer-safe container. They can be reheated from frozen or after thawing.
What dipping sauces pair well?
Consider serving with sour cream, guacamole, salsa, or even a creamy ranch dip for an extra layer of flavor!
Can I adapt the spice level?
Absolutely! Adjust the heat by using mild or spicy versions of taco seasoning or adding fresh or pickled jalapeños to the filling.